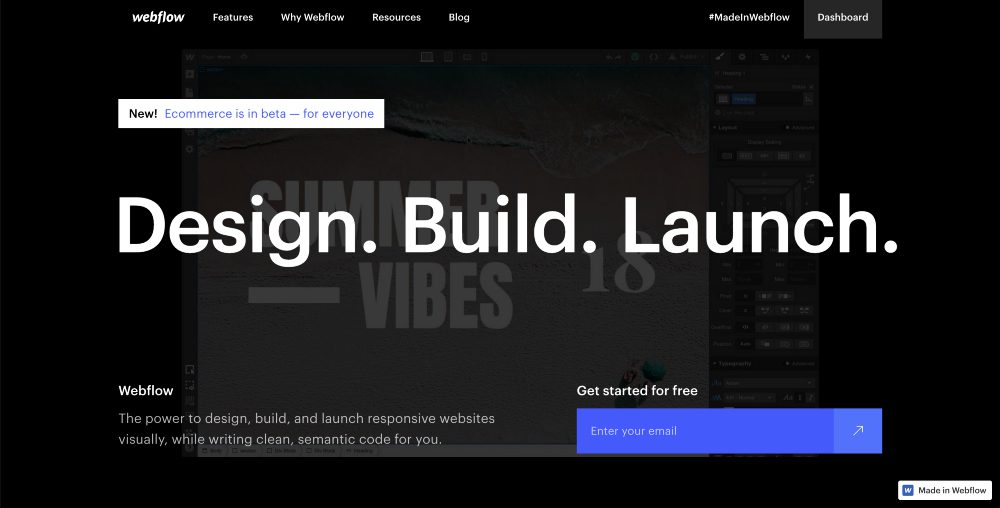
Instead of just storing course content files on their Webflow store, a lot of people are looking to turn a section of their site into a functional classroom. Here’s our solution on how to create online courses using Webflow.
While you can sell your classes as instructional ebooks or videos on Webflow, merely offering your online course as digital downloads provides a limited learning experience and makes your materials vulnerable to piracy. Instead of just storing course content files on their Webflow store, a lot of people are looking to turn a section of their site into a functional classroom. Here’s our solution on how to create online courses using Webflow.
CREATE ONLINE COURSES IN WEBFLOW
Step 1: Integrate Owwlish with Webflow by Adding the Base Script
Owwlish is a learning management system that allows you to gate the content on your course lessons without extensive coding. It offers both free and a paid version that allows you to protect your course content, the latter helping you gate content behind a paywall. By using Owwlish, you can restrict access between and within pages to members only. This way, you can host the course content, update materials, and interact with students all in one platform.
There are other membership and subscription plug-ins or LMS you can integrate with Webflow, but Owwlish is definitely a must-try for both beginners and professionals. It’s also both affordable and user-friendly! Moreover, it grants course content creators the option of effortlessly managing their students profiles from the backend with the ability to also use Owwlish’s simple dashboard to oversee everything from the backend. But don’t take our word for it. You can get started now for free to see if Owwlish is suited to your online course operation.

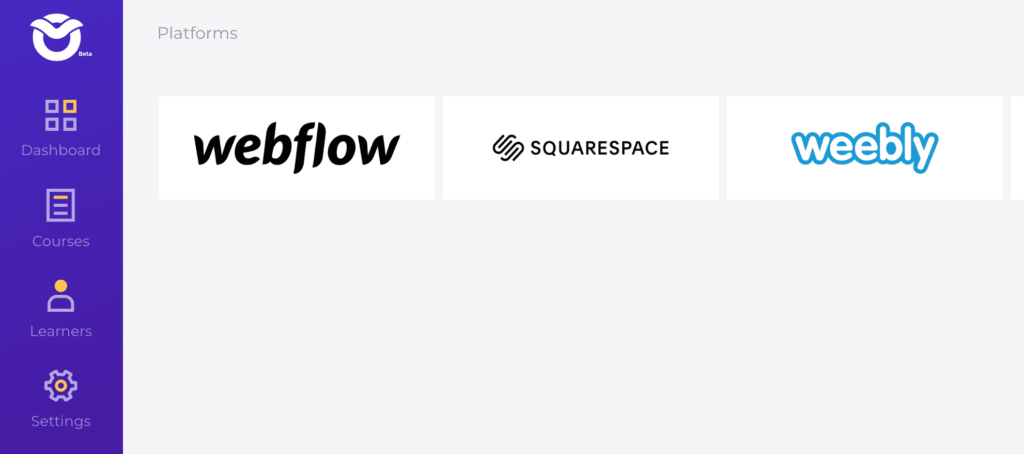
After you have successfully created your online courses in Owwlish, here are easy-to-follow steps on how to integrate it with Webflow.
- In Owwlish, go to Settings, then click Integrate. Now click the Webflow button.
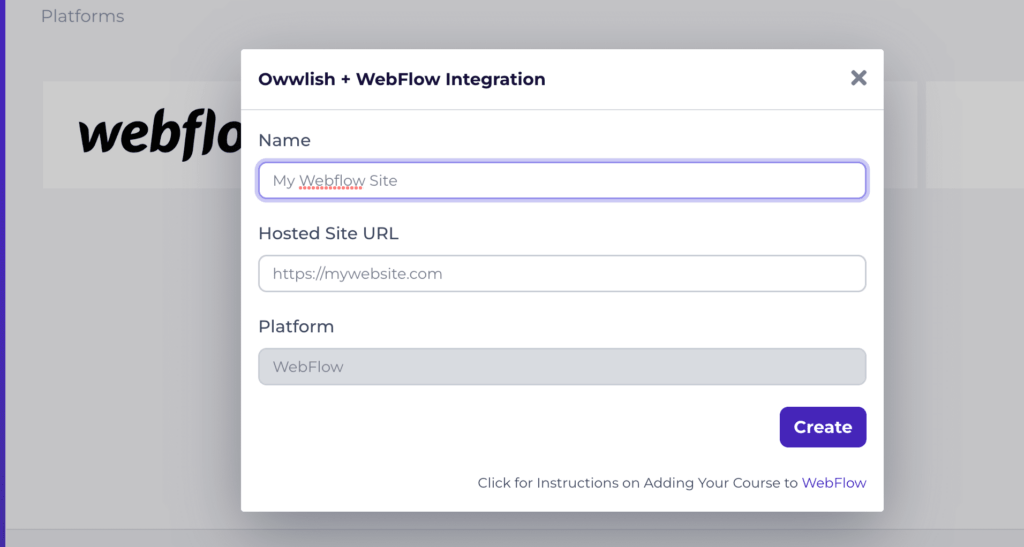
- In the popup, enter a nickname for your website (anything you want) and enter the URL of your Webflow site. Next, click the Create button.
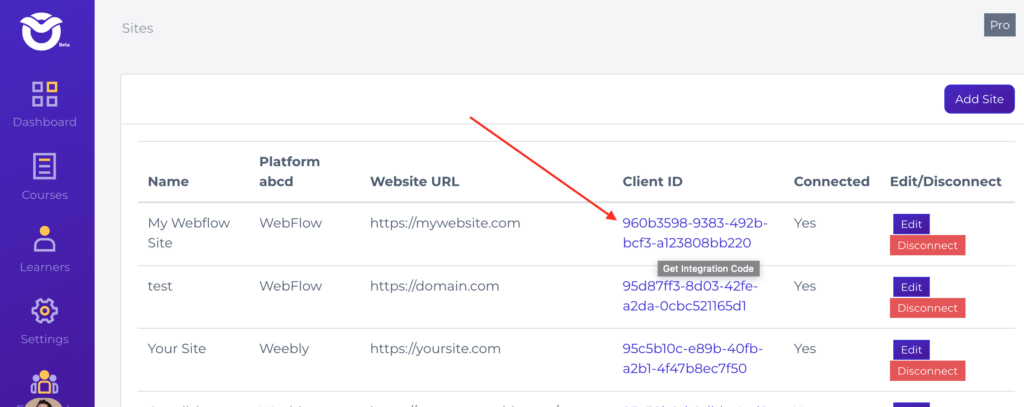
- You’ll be taken to the Connected Sites page (also accessible in the Settings menu). Click the top row under the column Client ID, which should be a long string of random numbers.
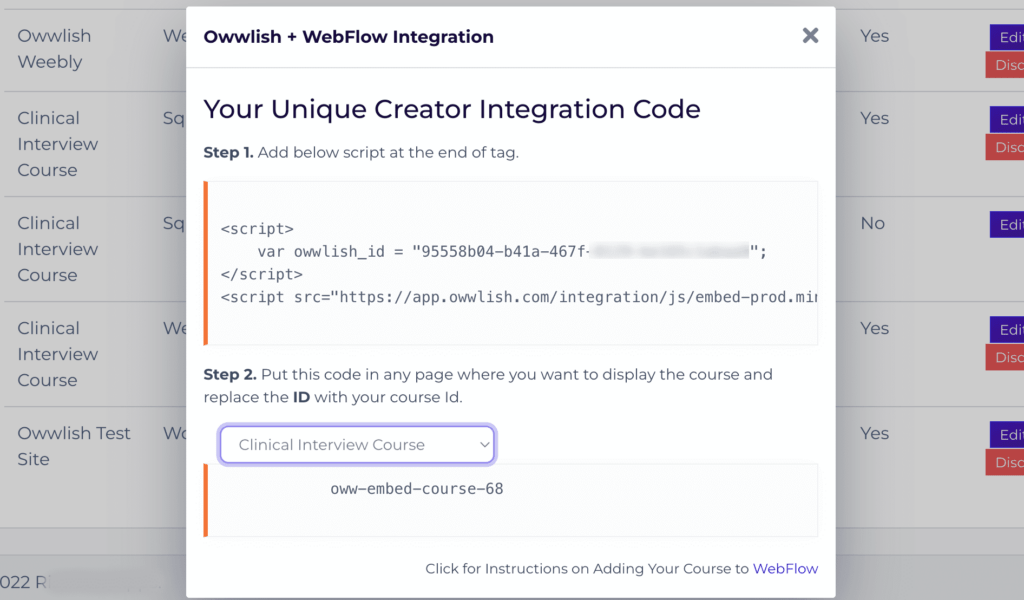
- In the popup copy the entire script from Step 1 which you’ll be soon be pasting into to your Webflow site editor:
- Login to your Webflow site builder, locate the pages tab in the left-hand toolbar and create a new page and name it the name of your course. Hover over your course page and click on the gear icon.
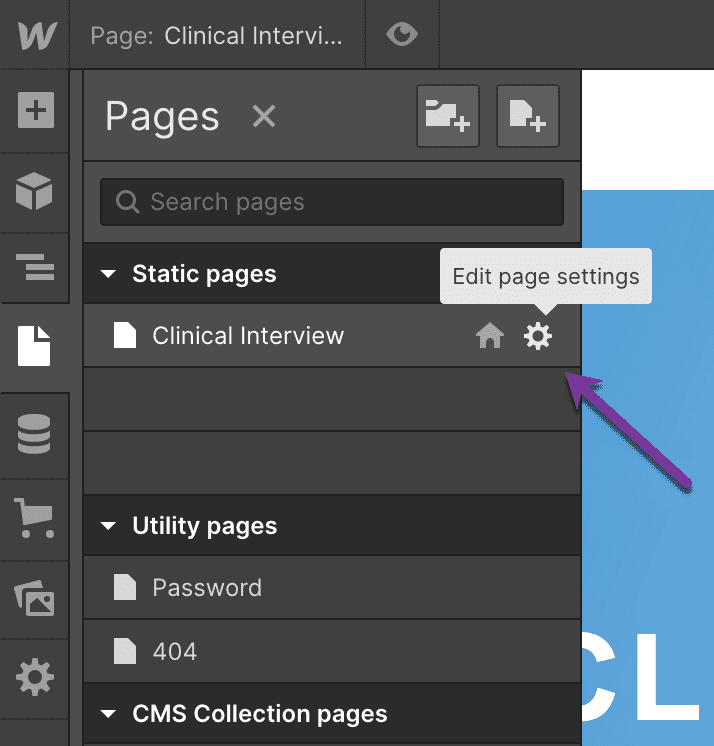
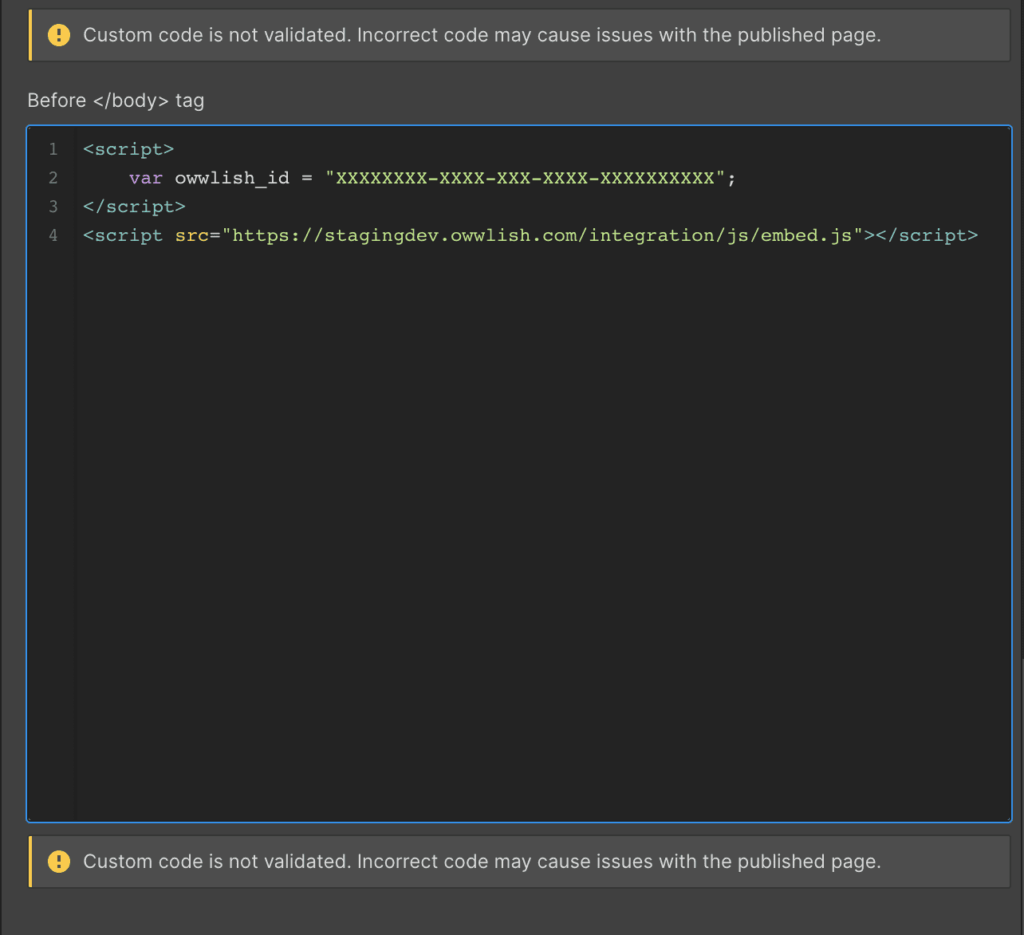
- You should see a settings panel. Once there, scroll to the bottom of that panel until you find Before </body> tag. In the space provided, paste the Owwlish script from Step 1 of the popup mentioned above:
Step 2: Add Your Online Course to Webflow by Adding the Specific Course Script
After we have successfully added the base-script from your Owwlish account into Webflow, it’s now time to add the specific online course script to Webflow.
In the Webflow site editor, proceed with dropping a new container on your page by dragging it from the Add Elements tab. It is recommended to add containers first as this allows you to set the margin and would put your content at the center of it.

Drop your Container in your new page and click on it.
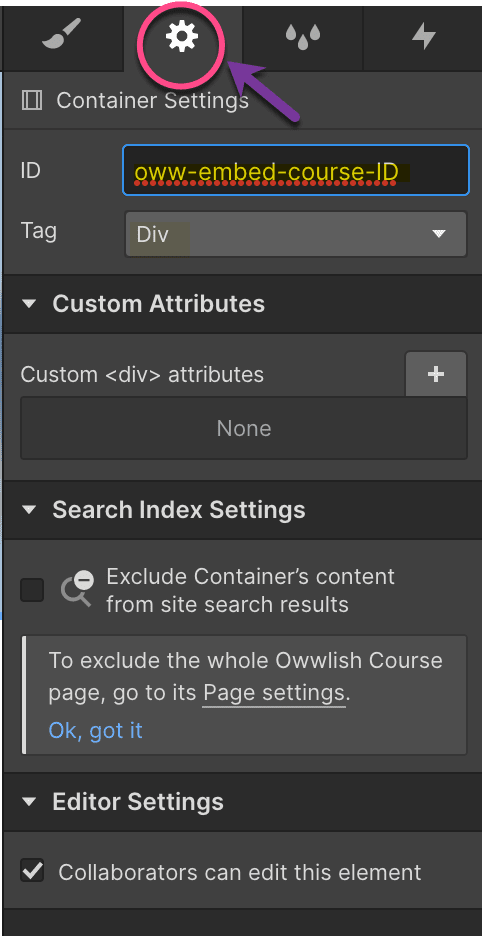
You should see a new sidebar from the right. On this sidebar, click on the little gear icon to open the Settings tab of your container.
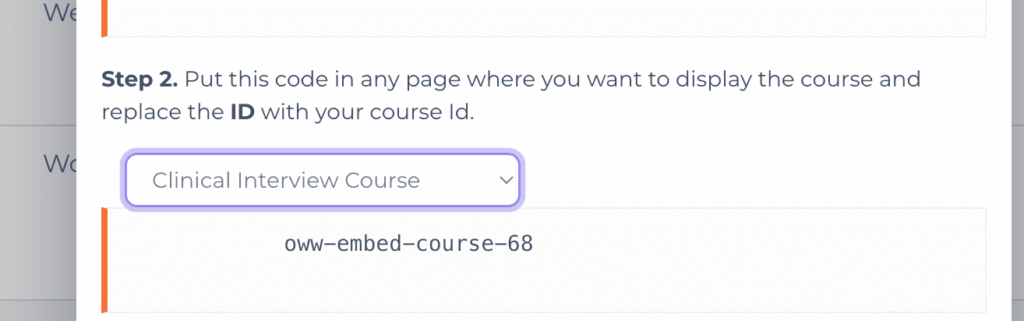
Paste the code from Step 2 of the integration popup mentioned above in the Owwlish app:
Step 3: Publish Your Course Page
Once you’ve customized your URLs and set up your permissions, just preview and publish your page. Congratulations! You’ve built an online course on your Webflow site with the help of Owwlish. Your students can now easily log in and sign up for your Owwlish course through that page you’ve created!

Additional Tips for You!
Did you know that you have the option to fully customize your own CSS with Owwlish if you need to? This gives you full control on how to stylize your website and match your Owwlish course to the overlook and feel of your site’s brand.
Need to update your Owwlish course with more lessons or need to put additional information to keep your courses relevant? You can simply make these changes on Owwlish app and any changes you make will be automatically reflected on your Webflow site!
Related Article: How to Create an Online Course on Wix?